|
|
|
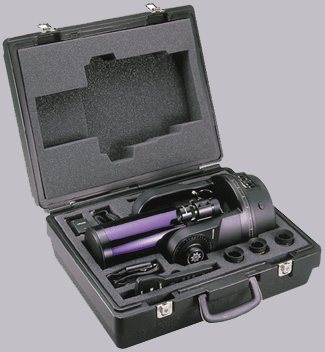
Jump Down to Update (7/16/06)Refurbishment of a Meade ETX-125I bought a used Meade ETX-125 from it's original owner three years ago. I got a good price and found that the optics of this scope were excellent. Long time users of this site know that I have several telescopes, but I found that the 5" aperture of this scope was easy to manage as my grab and go scope. I also got the #883 tripod with it not the heavier duty #884 tripod shown in the picture below, a hard sided storage case and the stock small spotting scope. The ETX is capable of some incredible views of the Moon, planets, and even Deep Sky. Here's a page with pictures other's have taken. I wanted to do the same. I had been an ardent star hopper for years and I did feel like I was 'selling out' just a bit. But I had so much FUN with this telescope that I got over it!
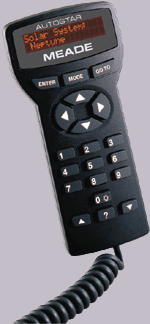
Starting the ChangesWhen I got the telescope home, I found that it had an older version of the Autostar software and that it didn't track exceptionally well. After reading nearly everything related to the Autostar and the ETX-125 at Michael Weasner's Mighty ETX Website, I figured I could change both of these things. I borrowed a Meade USB to RS-232 Bridge Cable from a friend and connected the telescope, Autostar controller up with my computer. The Bridge Cable permits connection of any Meade telescope's RS-232 serial interface to a PC's USB port. I went to the Meade website and downloaded the latest Autostar software, followed the instructions and had the hand controller updated to the latest configuration within 20 minutes. While I was waiting I made a dew/light shield for the front of the scope out of black polyurethane foam and some self adhesive Velcro strips. That reminds me, I'll need to get a new sleeping pad before I go camping again. Reading through the ETX manual, I found that the drives needed to be 'trained' both in declination (up and down) and azimuth (side to side). I doubted that this had been done by the previous owner the scope, so one morning I took the scope outside, set it up and pointed it at a large electrical tower about 2 miles from my house. I chose this object to sight in on because it has well defined vertical and horizontal structures that let me easily center and then re-center the structure repeatedly in my eyepiece. I took my time with this process since I was calibrating the stepper motors for all future observations. After the training was completed, I also centered up the small spotting scope as exactly as possible. Because I have been discussing the alignment of the spotting scope and main telescope, I will also pass on that I installed a 'red-dot' sight to the top of the ETX. I bought a small Daisy red-dot sight from Walmart for $8.99 and attached it to the top with some double-sided sticky tape. That's all I did, but there are whole webpages devoted to the modification of the Daisy sight if you'd like to have more brightness control. I operated the telescope successfully with no other modifications for 2 years... Lah dee dah... Catastrophe StrikesI was in the middle of a demonstration (of course) on how easy the ETX is to align, when I was tightening the declination knob and heard a sharp 'popping' sound, followed by the telescope tube slumping forward in the alt-azimuth mount. The declination clutch would not work at all and no alignment procedure would get the telescope to track. I knew that something vital had broken inside of the telescope. Silver LiningThe Mighty ETX Website has a great deal of information about something called a "ETX Supercharge" offered by Dr. Clay Sherrod at Arkansas Sky Observatories. I had a few e-mails back and forth with Dr. Sherrod and he assured me that he would not only fix the problem inside of the scope, but replace the plastic parts inside of the telescope with metal, clean the optics and primary mirror, fine tune the focus and provide documentation and technical info galore for $277 + shipping. Compared to me opening up the scope and trying to fix it, get the parts, have the scope down for months, then end up sending it off to get it fixed anyway, I thought this was a great deal. The shipping of the telescope was not included in the price, but UPS handled it easily and it arrived at Dr. Sherrod's facility undamaged. There will be a silver lining in all of this since I should get a telescope back that will serve me well for several more years to come. As of this writing (7/1/06), the scope is on its way back to me and I'll give a full report of what was done and it's performance soon. Note: The total shipping costs from CA to AR and back ran approximately $100. It should be noted that about $30 of this is because I had the telescope professionally packed on the way to Dr. Sherrod.
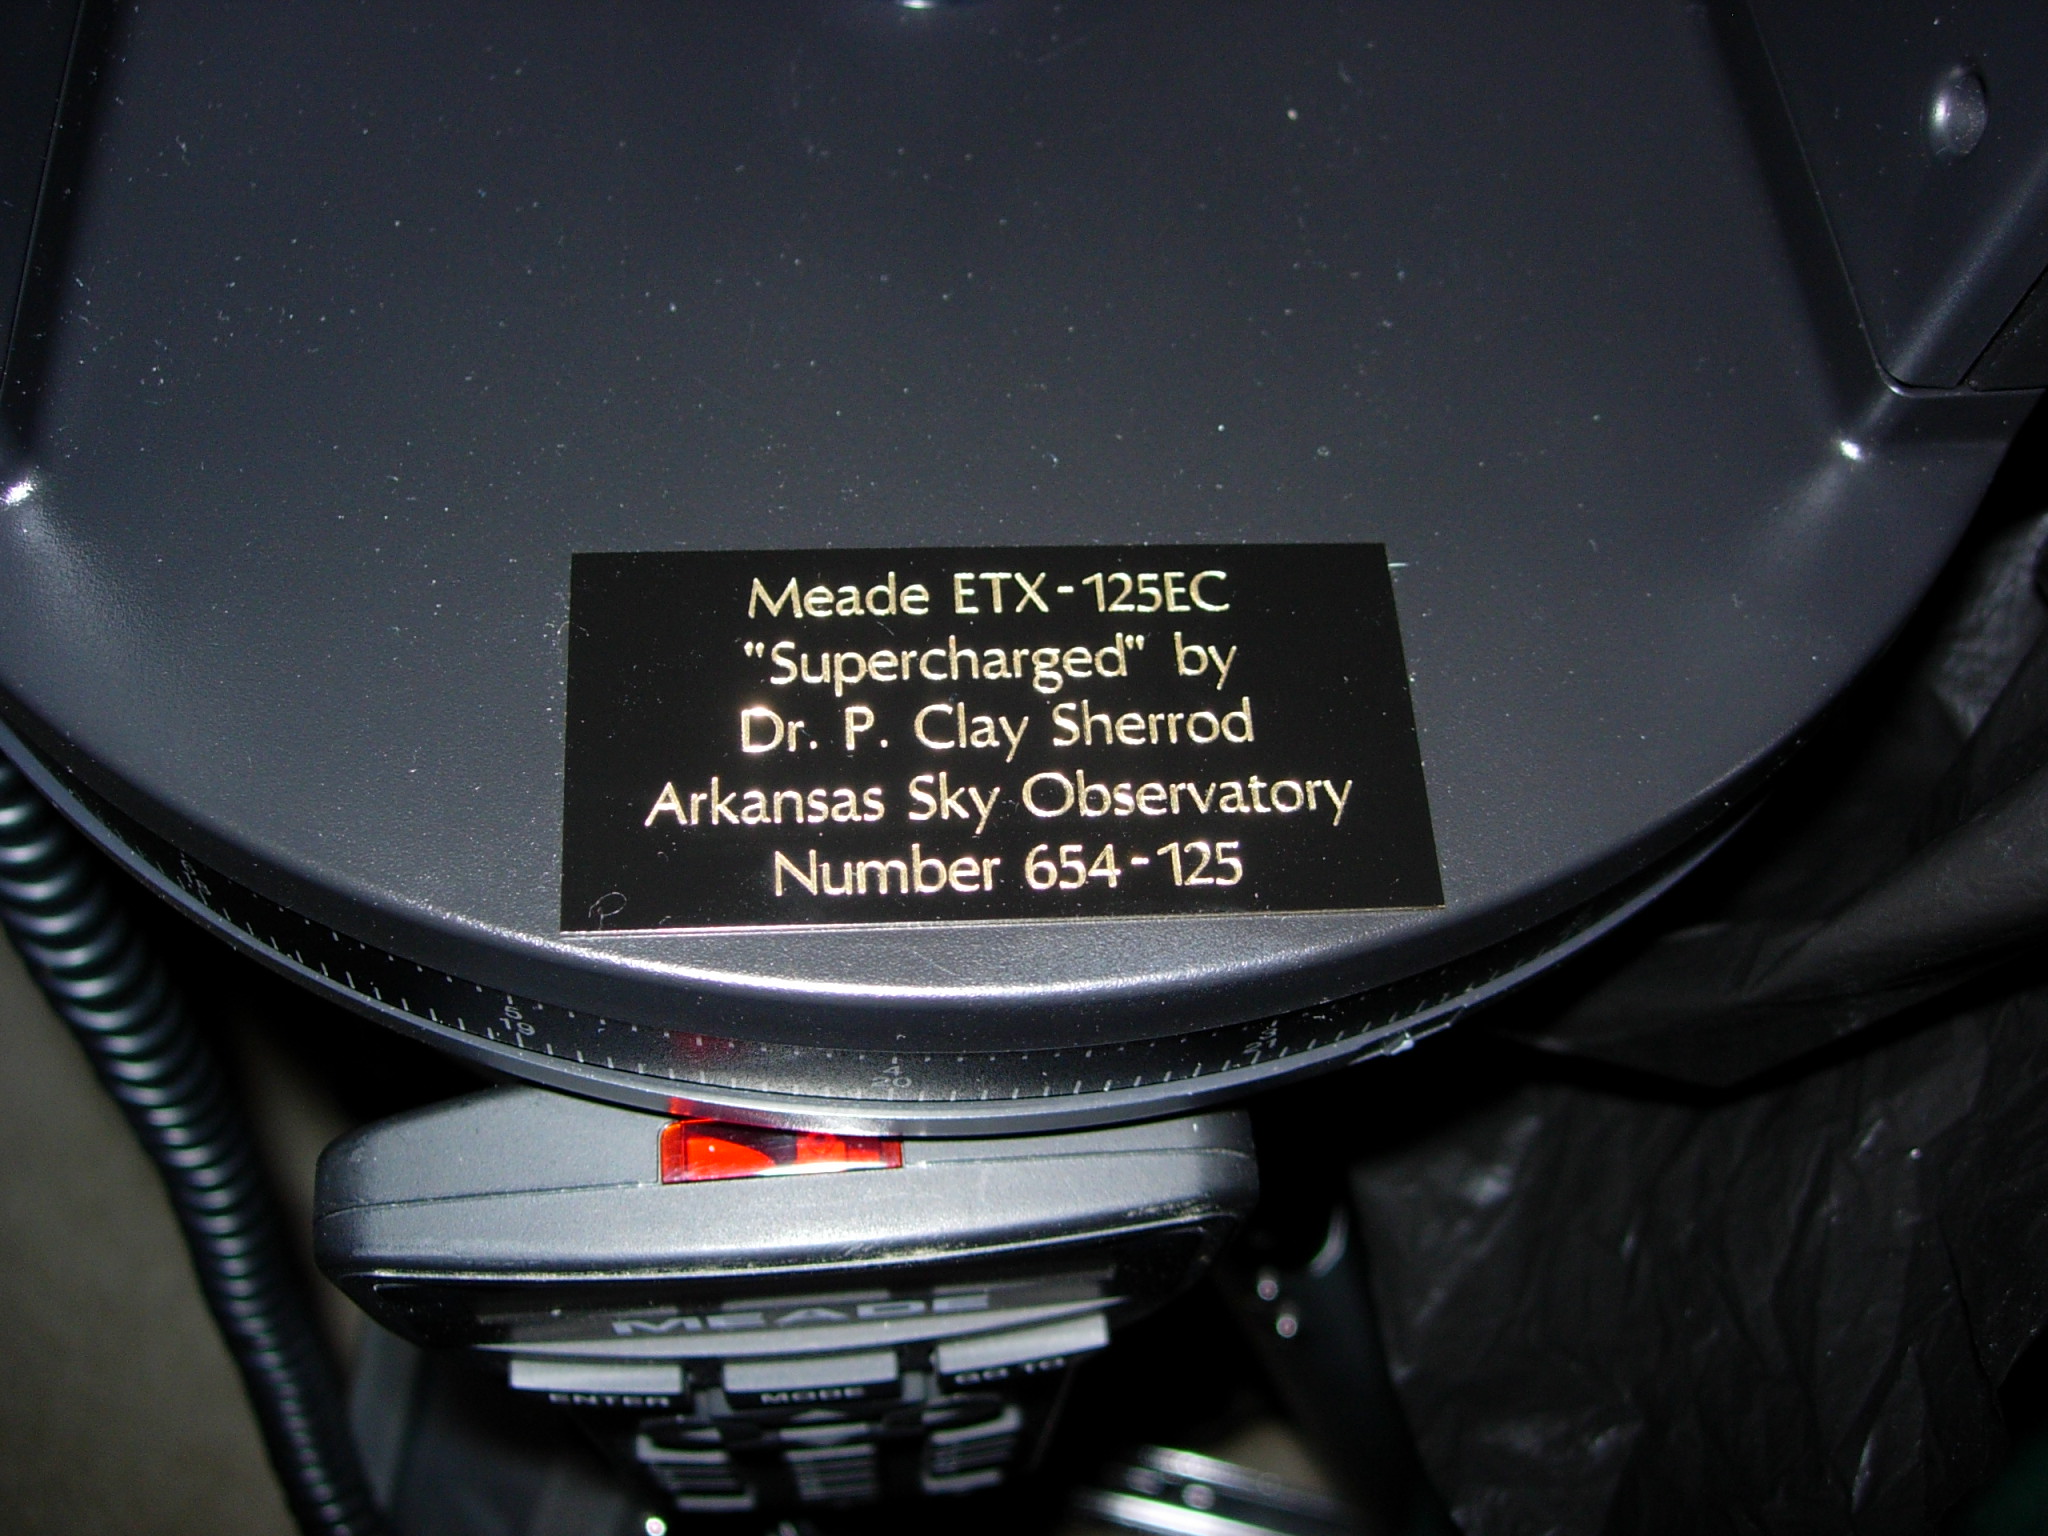
UPDATE - 7/16/06I received the telescope back from Dr. Sherrod on 7/5/06, very well packed, having suffered no damage due to shipping. I opened up the packaging and read through all of the documentation that is provided. It is full of tips and information regarding the ETX series. Fascinating reading from someone who understands the plusses and minuses of the ETX design. The supercharge came with a CD-ROM with many, many Mb of information and sky tours that will lead to many hours of enjoyable reading and night sky exploration. The first new thing I noticed about the telescope is that it had a cool plaque stating that it had been "Supercharged" by Dr. P. Clay Sherrod. It's like a seal of approval verifying all of the work that Dr. Clay put in to the repair and modification of the scope. Then I started reading down through the lists of items that were checked and either fixed or modified to work even better. The 12V DC power connector was replaced on the side panel, the telescope's internal light baffles were adjusted to provide maximum image contrast, the right angle prism was aligned with the optical path, the telescope elements were collimated to a high degree of accuracy, all of the grease was cleaned off and new grease applied, the focus travel was smoothed out, the azimuth and declination gearing was fixed or replaced (my original problem), the clutches for both axes were fine tuned, and the stepper motors for both axes were 'trained' with actual star tracking over 45 minutes each. After the drives were trained, a 'long stare' test was conducted, keeping an object in the field of view automatically for over two hours. I have verified this now by having the telescope keep Jupiter in the field of view at 100x for over three hours. In short, everything on my scope has been fixed. I'm very pleased with the optics now, the collimation has tweaked the view through the eyepiece that last 5% that I was missing, and the ETX drives are noticeably quieter, the tracking more accurate, and the focus is really smooth now. It's back to being my number one "Grab and Go" telescope for fun and easy viewing. With perspective, I do not consider the telescope repair along with the extensive upgrade to have been of unreasonable cost. I am sure of one thing though - I would have spent a lot more getting the clutches fixed by Meade (out of warranty work) and then still having the collimation and focus issues fixed. I had the scope out for three nights of great observing before being called away on business for over a week. I hope to use the ETX-125EC to finish up my Lunar Messier Pin over the course of the next month.
- Tom
|
|